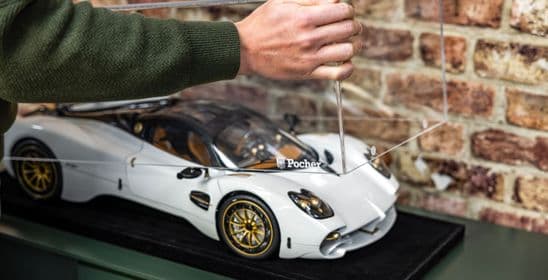
If you are new to the world of Pocher models and large scale model kits, but are unsure what you need to get started, this guide is for you. We’ll go through your set-up and tools, so you are completely prepared for when your 1:8 scale car or 1:4 scale motorcycle vehicle arrives. Sometimes, getting started is the hardest part, so read on to make that bit easy!
An organised and tidy workspace is essential for modelling success and should be the first thing you consider when taking on the challenge of a premium model kit. You don’t want to waste time searching for parts underneath lots of modelling paraphernalia, or even worse, lose key components altogether!
While it is possible to build you Pocher model on your dining table, it is better to have a dedicated workspace if you can. This allows you to take your time with your build, coming back to everything exactly where you left it to avoid making mistakes or missing any steps.
You’ll also need to consider lighting – you’ll need to ensure the area is well-lit to avoid straining your eyes when working with small, fiddly pieces. Ideally, you’ll have a large light that fills the whole area to avoid creating strong shadows across your workspace.
It’s a good idea to collect some small plastic storage containers for all the small parts and screws. This will keep them organised and safe, so you don’t lose any essential pieces. This is something experienced modeller James May is meticulous about, as it helps him find things easily.
You might also want to invest in a small toolbox for the model-making tools we’ll mention below.
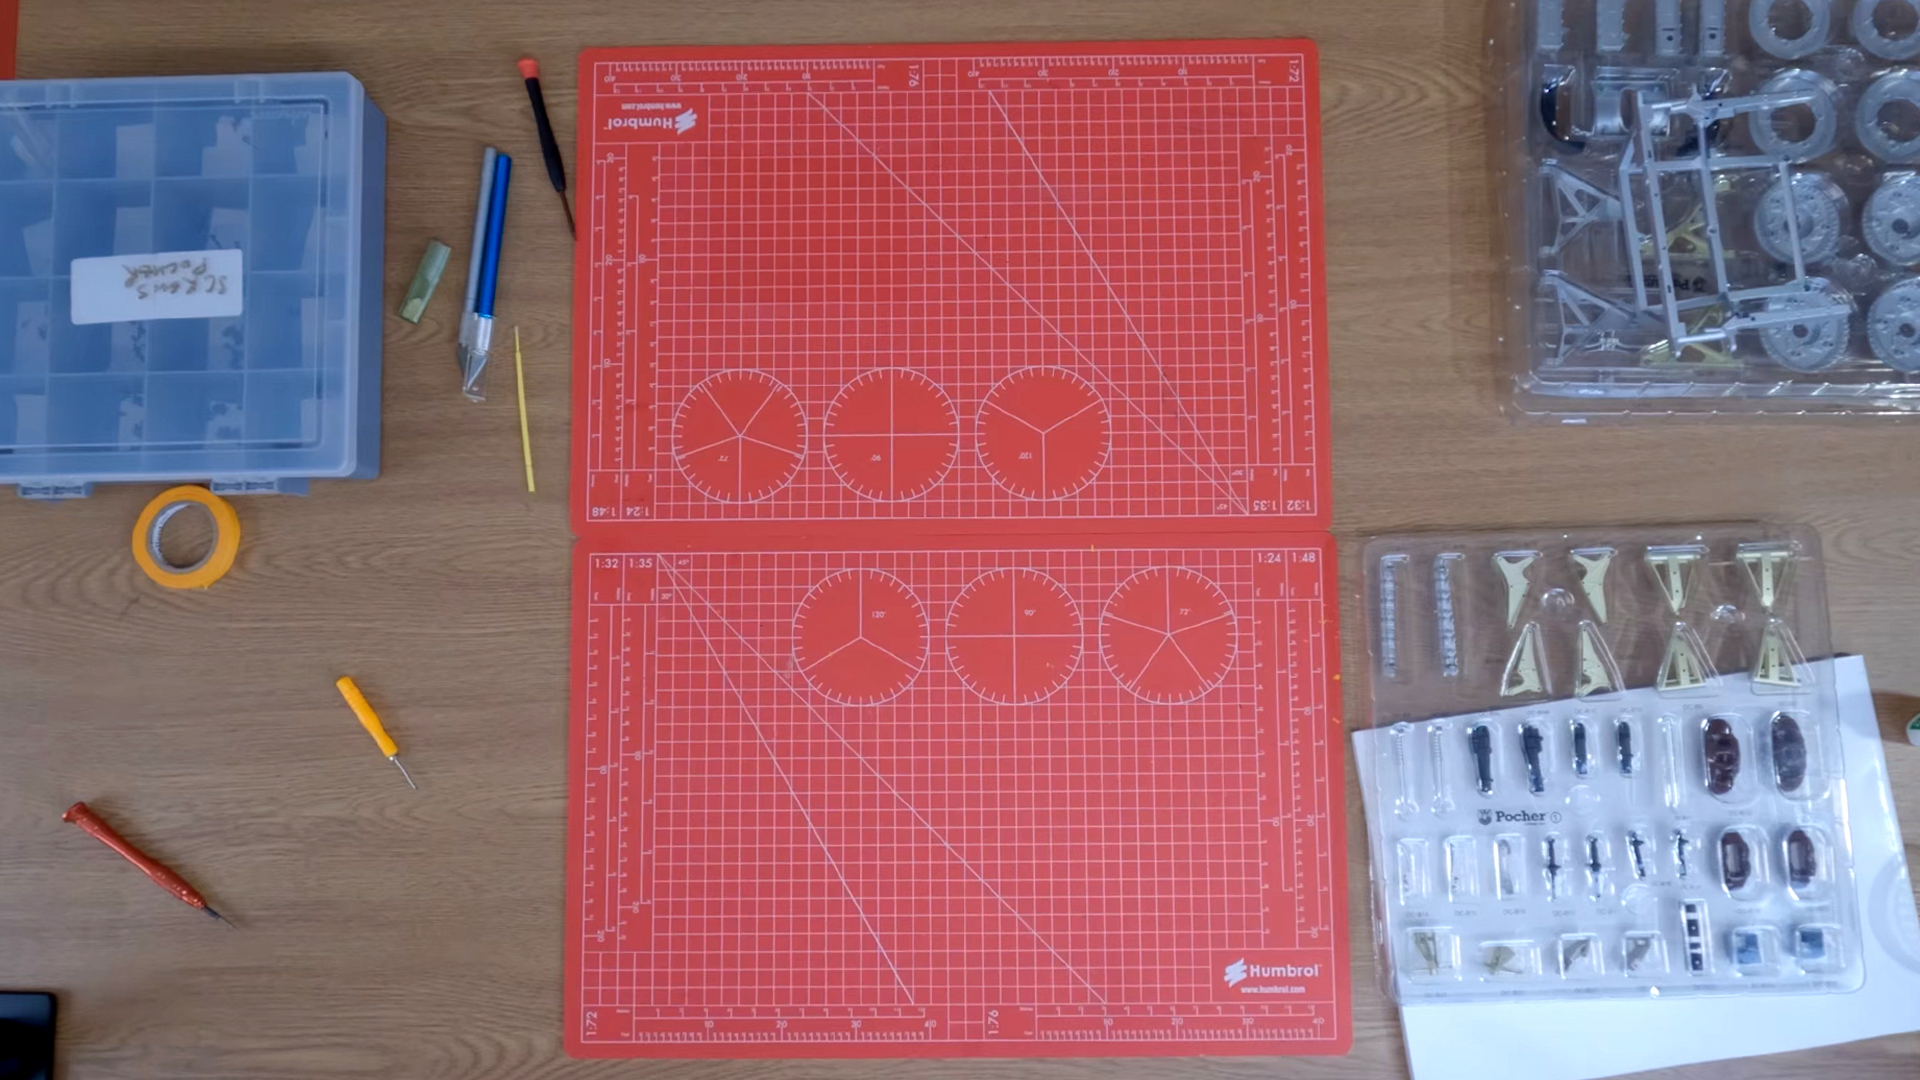
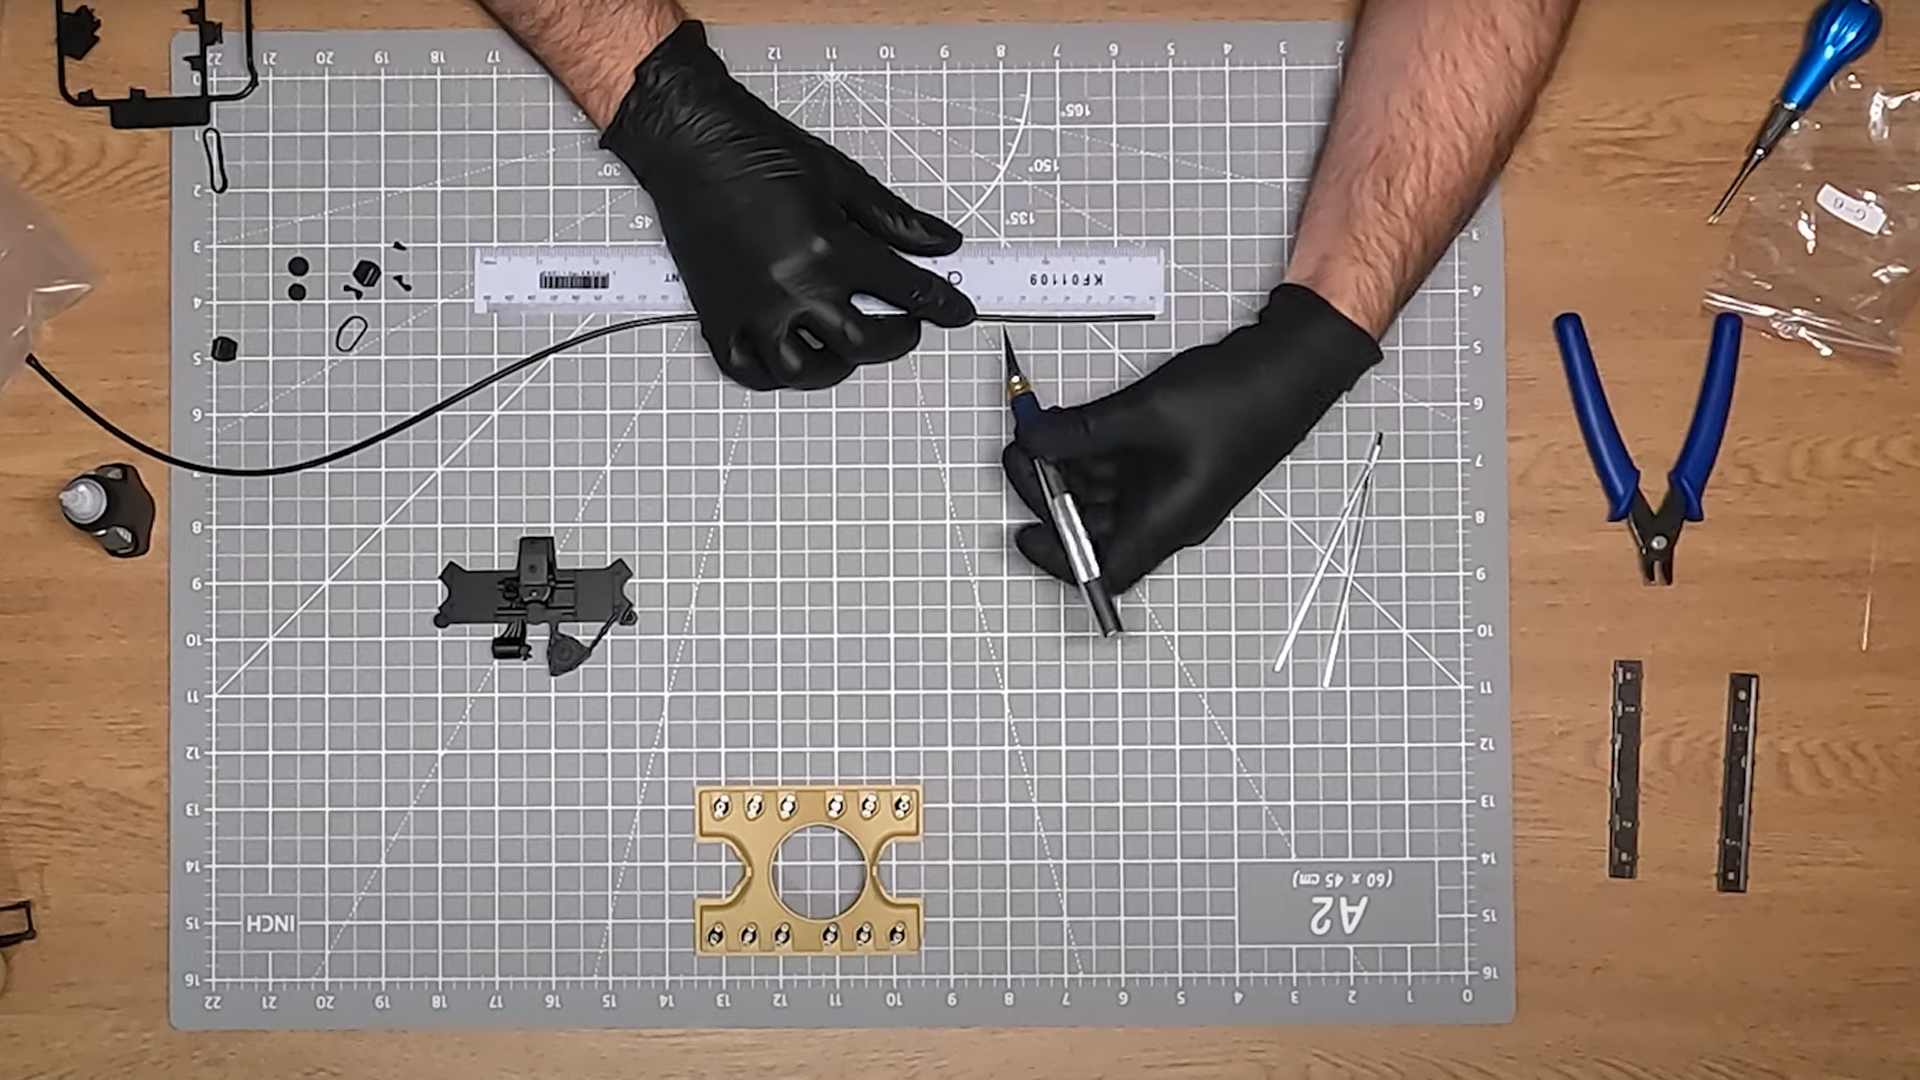
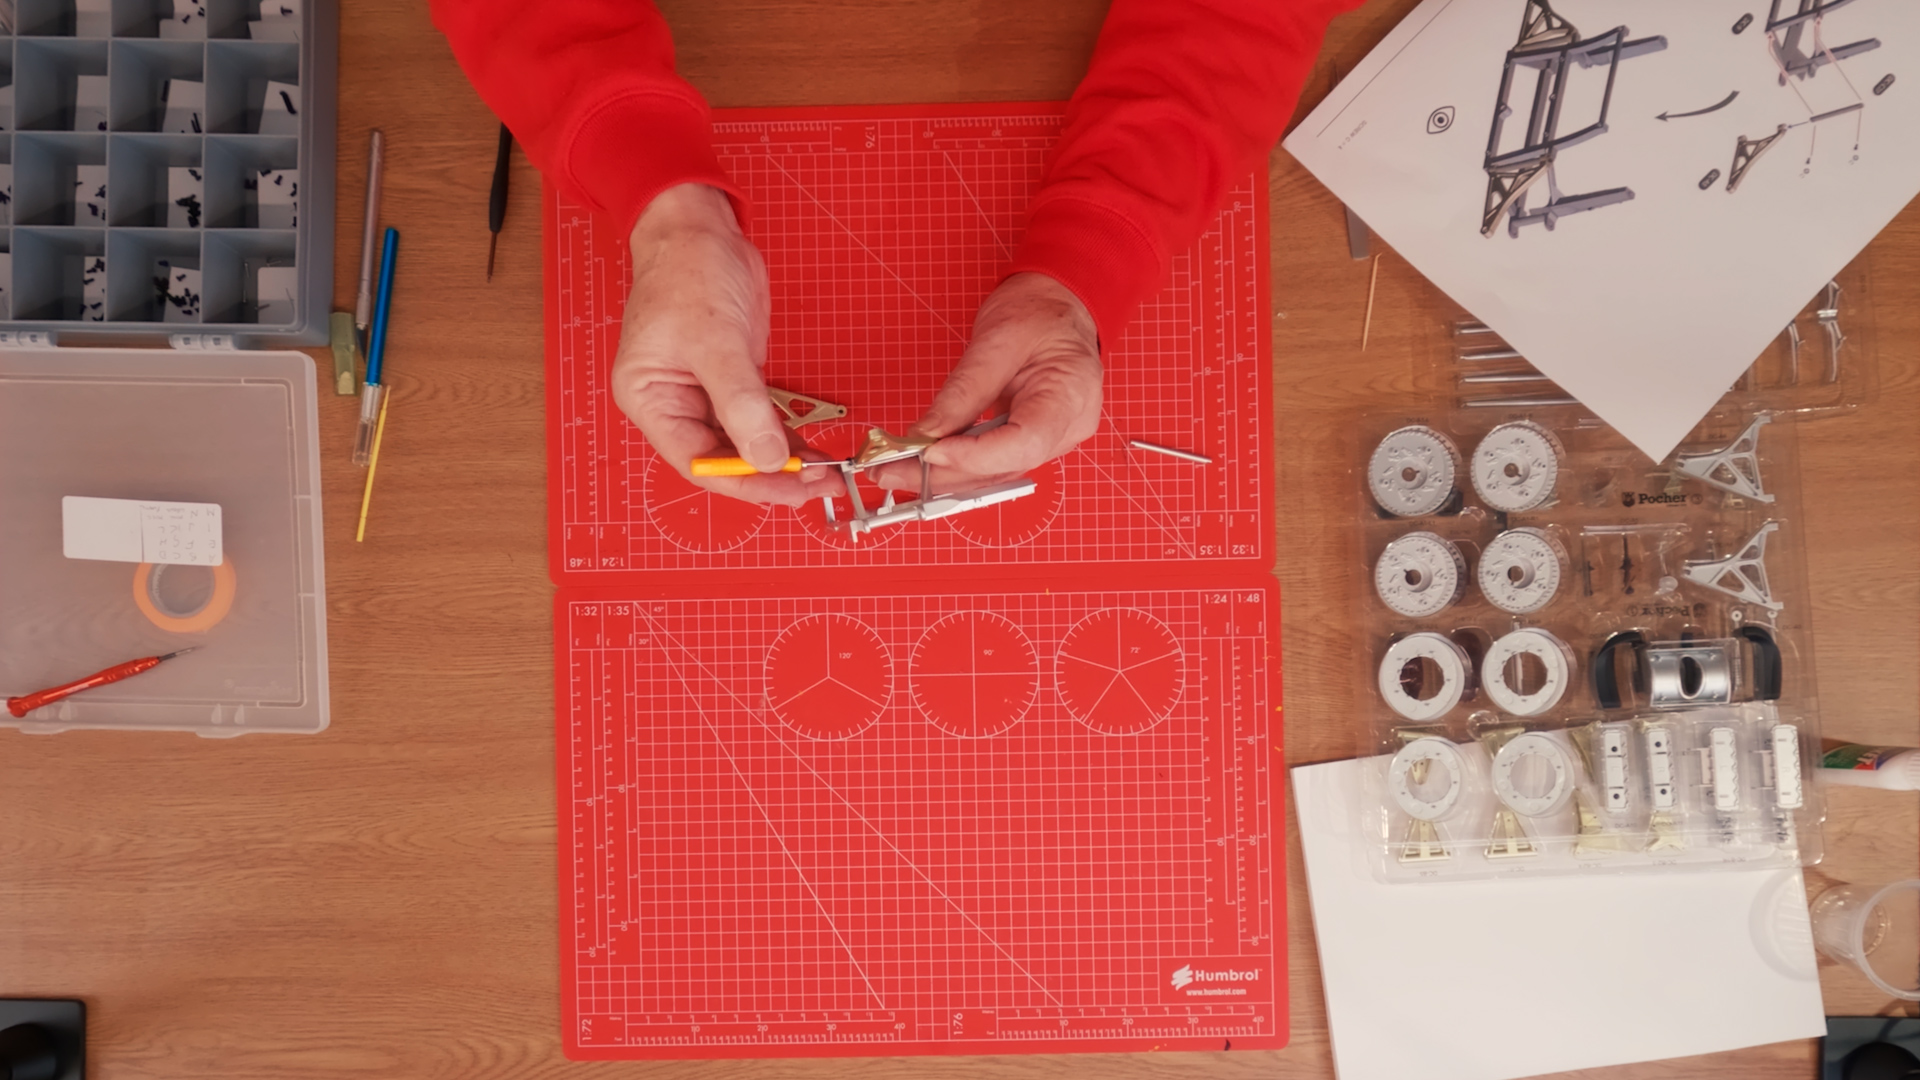
One of the first things you’ll want to place on your workspace is a large cutting mat. A2 or A3 size is great, but you’ll want to use the biggest mat that can fit in your dedicated model-building space. Investing in a high-quality mat will pay off in the long run as you’ll spend a lot of time cutting parts from their sprues and this will ensure you don’t damage the worksurface underneath.
The better quality your cutting mat, the more benefits you can enjoy from it. There are many reasons to choose a high-quality design for your Pocher model, but here are just a few:
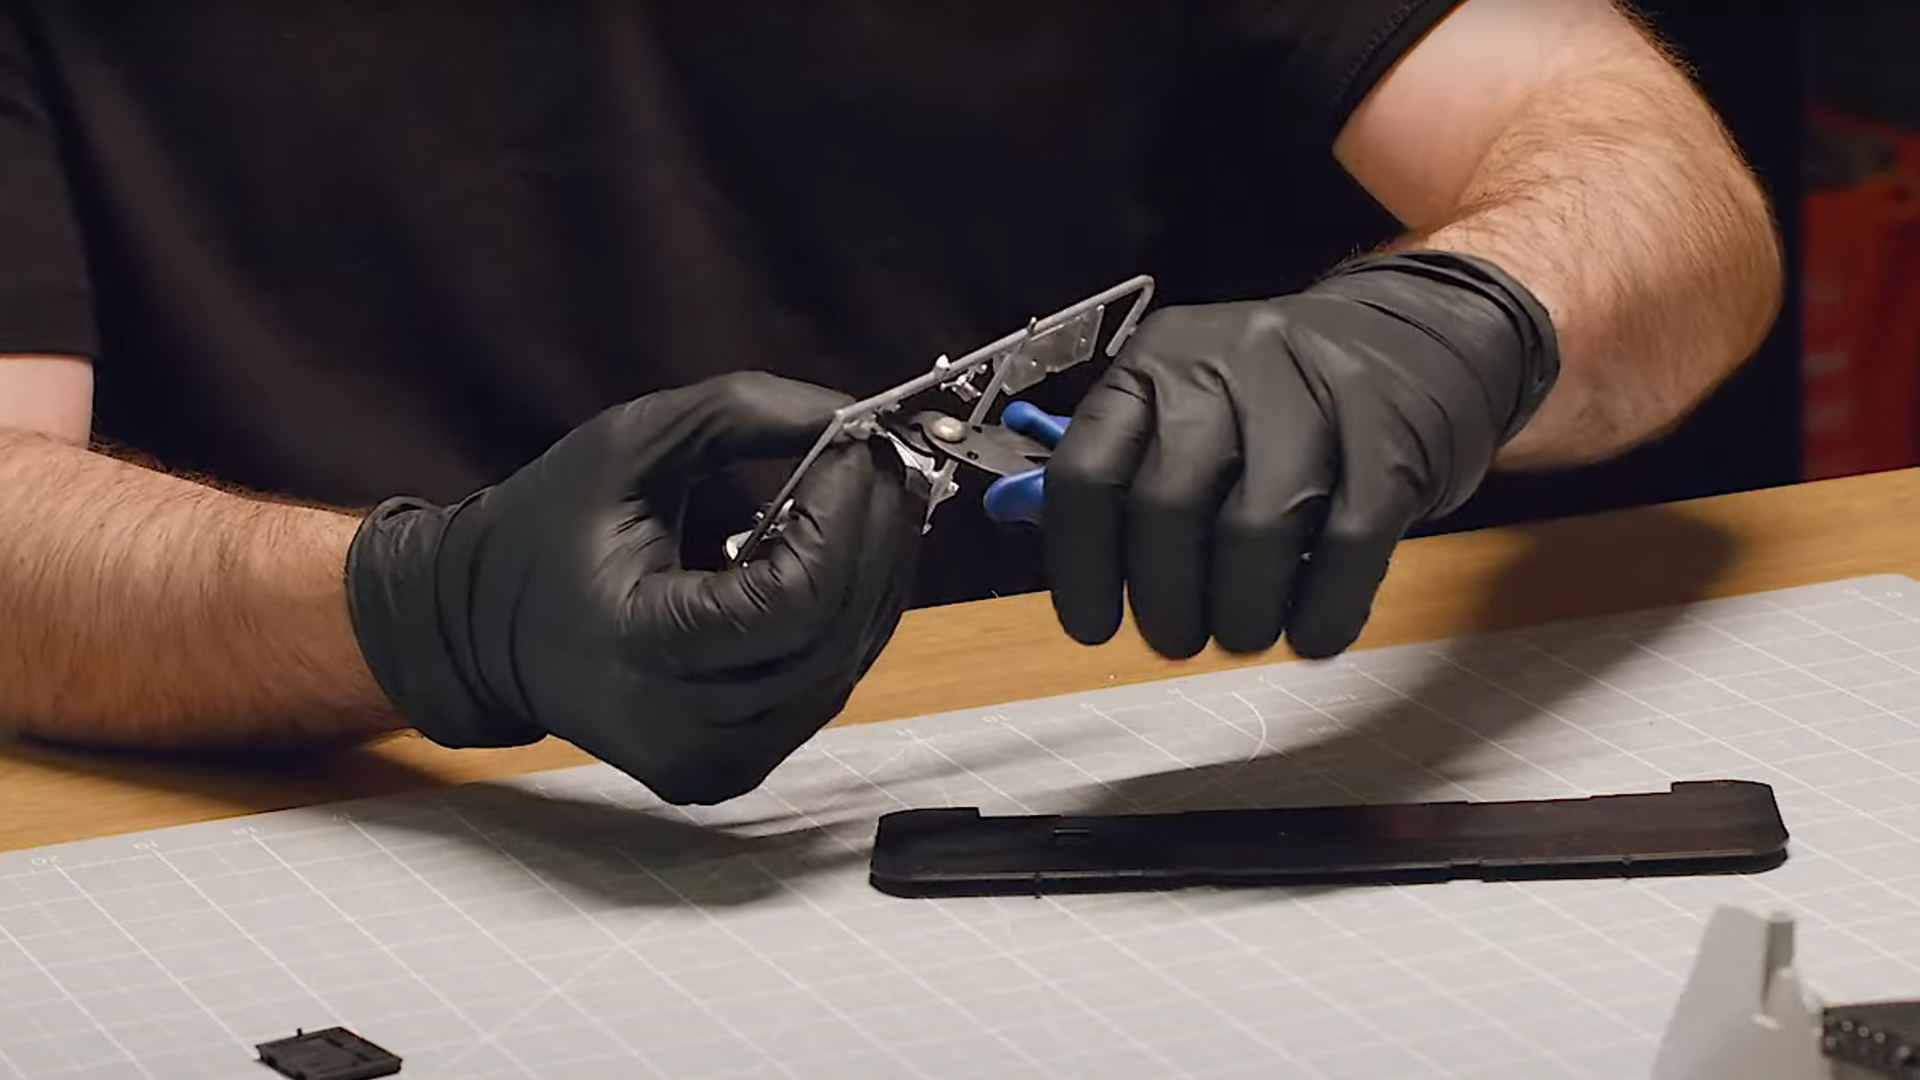
There are lots of different cutters available for model builders. We recommend getting a good pair of side cutters to begin your modelling journey, but as you progress, there are many other types you may want to add to your toolkit.
These versatile cutters have angled blades that excel at removing parts from sprues cleanly and efficiently. Their design allows you to get close to your model parts while keeping your hands at a comfortable angle. Side cutters are particularly effective for cutting thicker plastic components.
As you progress with your Pocher hobby, you'll appreciate the precision of flush cutters. These specialised tools have flat blade edges that cut extremely close to the surface, leaving minimal excess material behind. With their flat face on one side, they can trim sprue connections nearly flush with your part's surface, dramatically reducing the need for filing and sanding afterwards. They're ideal for delicate work with minimal cleanup, but you’ll need to look after these cutters to avoid damaging their precisely aligned blades.
For those intricate details that make Pocher models so special, micro cutters are invaluable. Their fine tips can reach into the tightest spaces of your 1:8 scale model, allowing for precise trimming where standard cutters won't fit. They excel when working with tiny photo-etched parts, fine wires and components in partially assembled areas. While more delicate than their larger counterparts, micro cutters will become essential as you tackle the finer aspects of your build.
Over time, you’ll appreciate having all three cutters in your toolbox, allowing you to take on every model cutting challenge with ease.
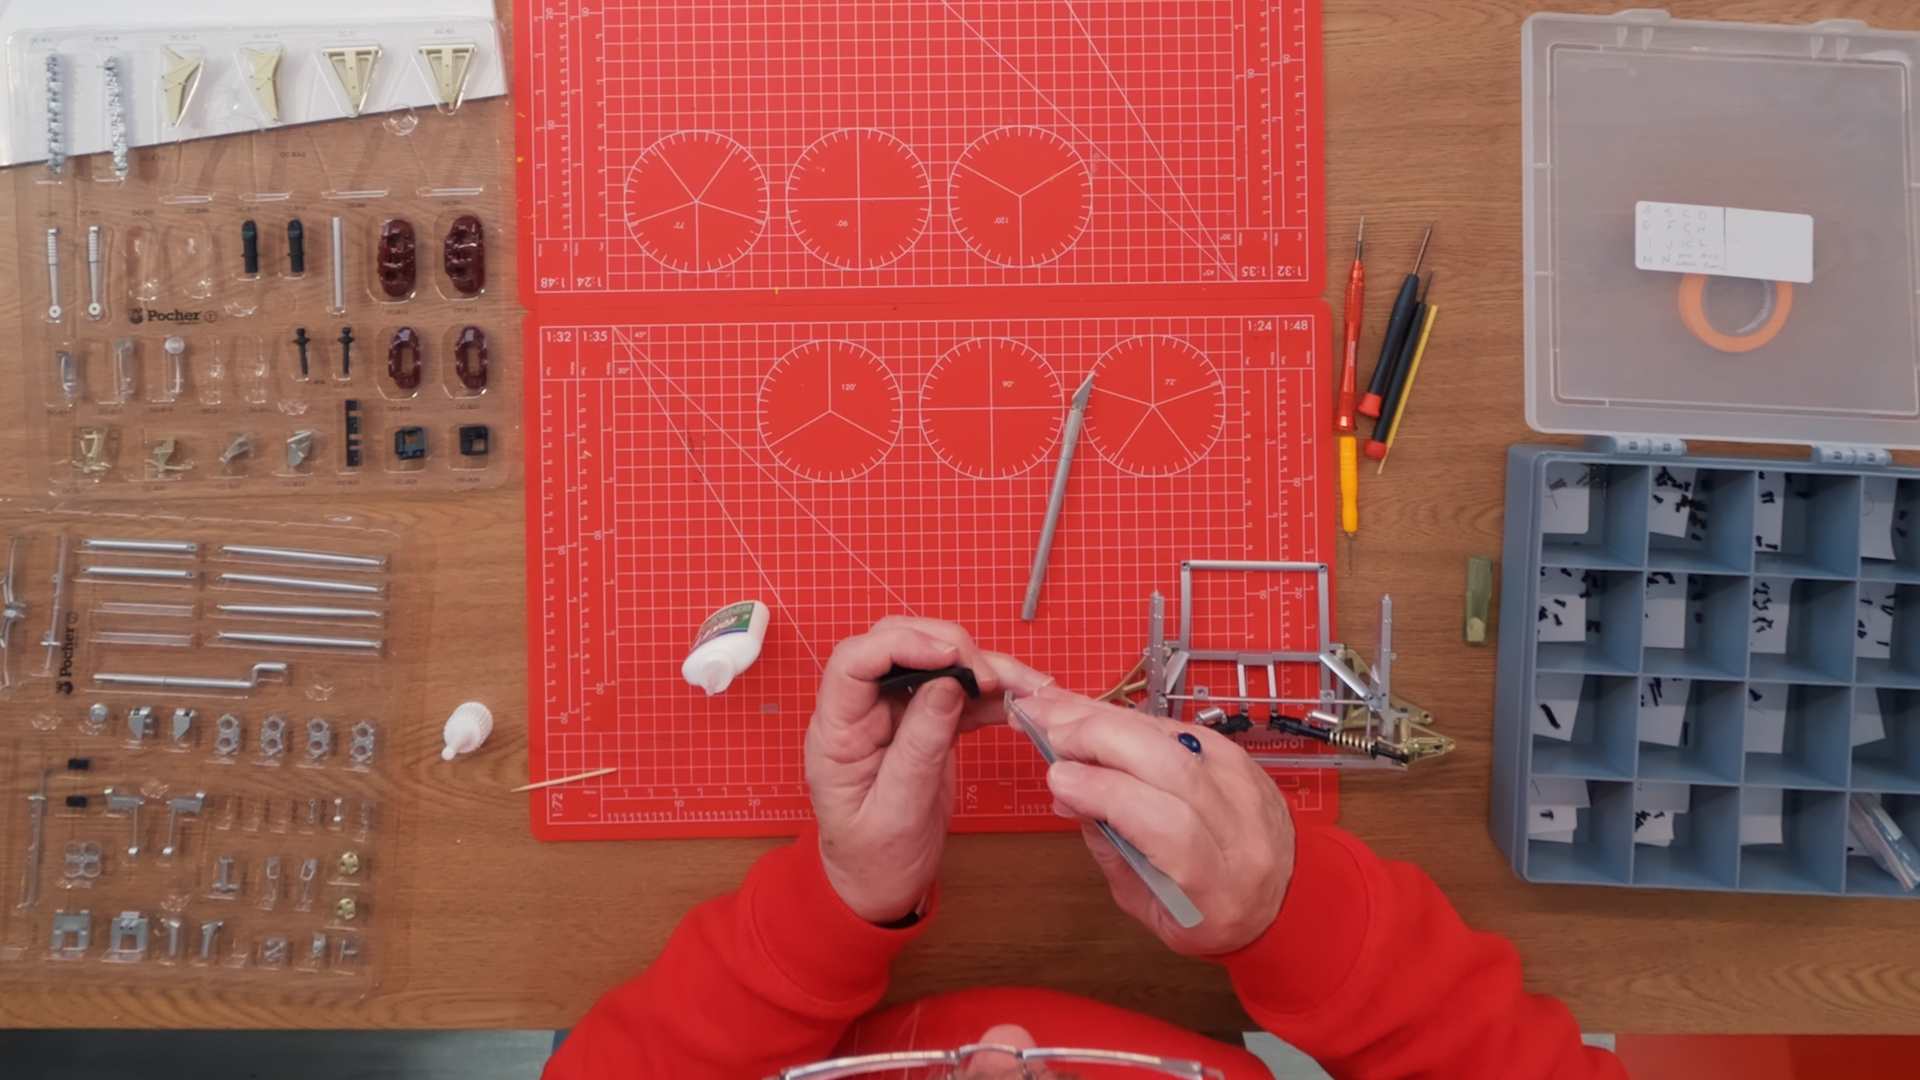
Tweezers are essential when working with tiny pieces, ensuring your hands don’t get in the way when using them to build your model. But there are lots of different types of tweezers to choose from.
The straight tips of flat tweezers provide even pressure to all surfaces, excelling at handling flat components like decals and photo-etched parts. While they might not reach the tightest corners of your 1:8 scale model, they are a very useful tool for your collection.
Angled tweezers are great for improved visibility when building your large scale model. By positioning your hand away from the work area, you can see exactly where you’re placing those tiny, detailed parts. They particularly useful when working in tight spaces of your car or motorcycle model. They can be trickier to get the hang of than other types of tweezers, but they’ll soon become essential for precision work.
If you can only get one pair of tweezers to start, we recommend curved tweezers, as they help you reach those tricky spaces more easily. They’re especially useful for manipulating wires, tubes such as the seatbelt buckle to the belt on your Porsche 917k. These will help you master those complex assembly sections that can stump some model builders.
For modern Pocher models, the only screwdriver you’ll need is a Phillips screwdriver to help twist those tiny screws into place. We recommend 0 and 00 sized heads. Some other non-Pocher model kits might require a flathead screwdriver too, so make sure to check the required tools for these carefully.
Screwdrivers with magnetic tips are extremely useful when it comes to picking up small screws in hard-to-reach spaces. It also makes it easier to align your screws to the space they need to drop into, helping to speed up the build process.
After cutting your sprues, you can file any excess plastic to get a flush finish on your part. You can file both plastic and metal pieces but be careful not to over-file, because once you’ve removed material, it’s very difficult to put it back! Use a fine grit to avoid damage and give you more precision.
Filing the pieces helps you to get a perfect finish, but it may also be essential to get the right fit between two parts.
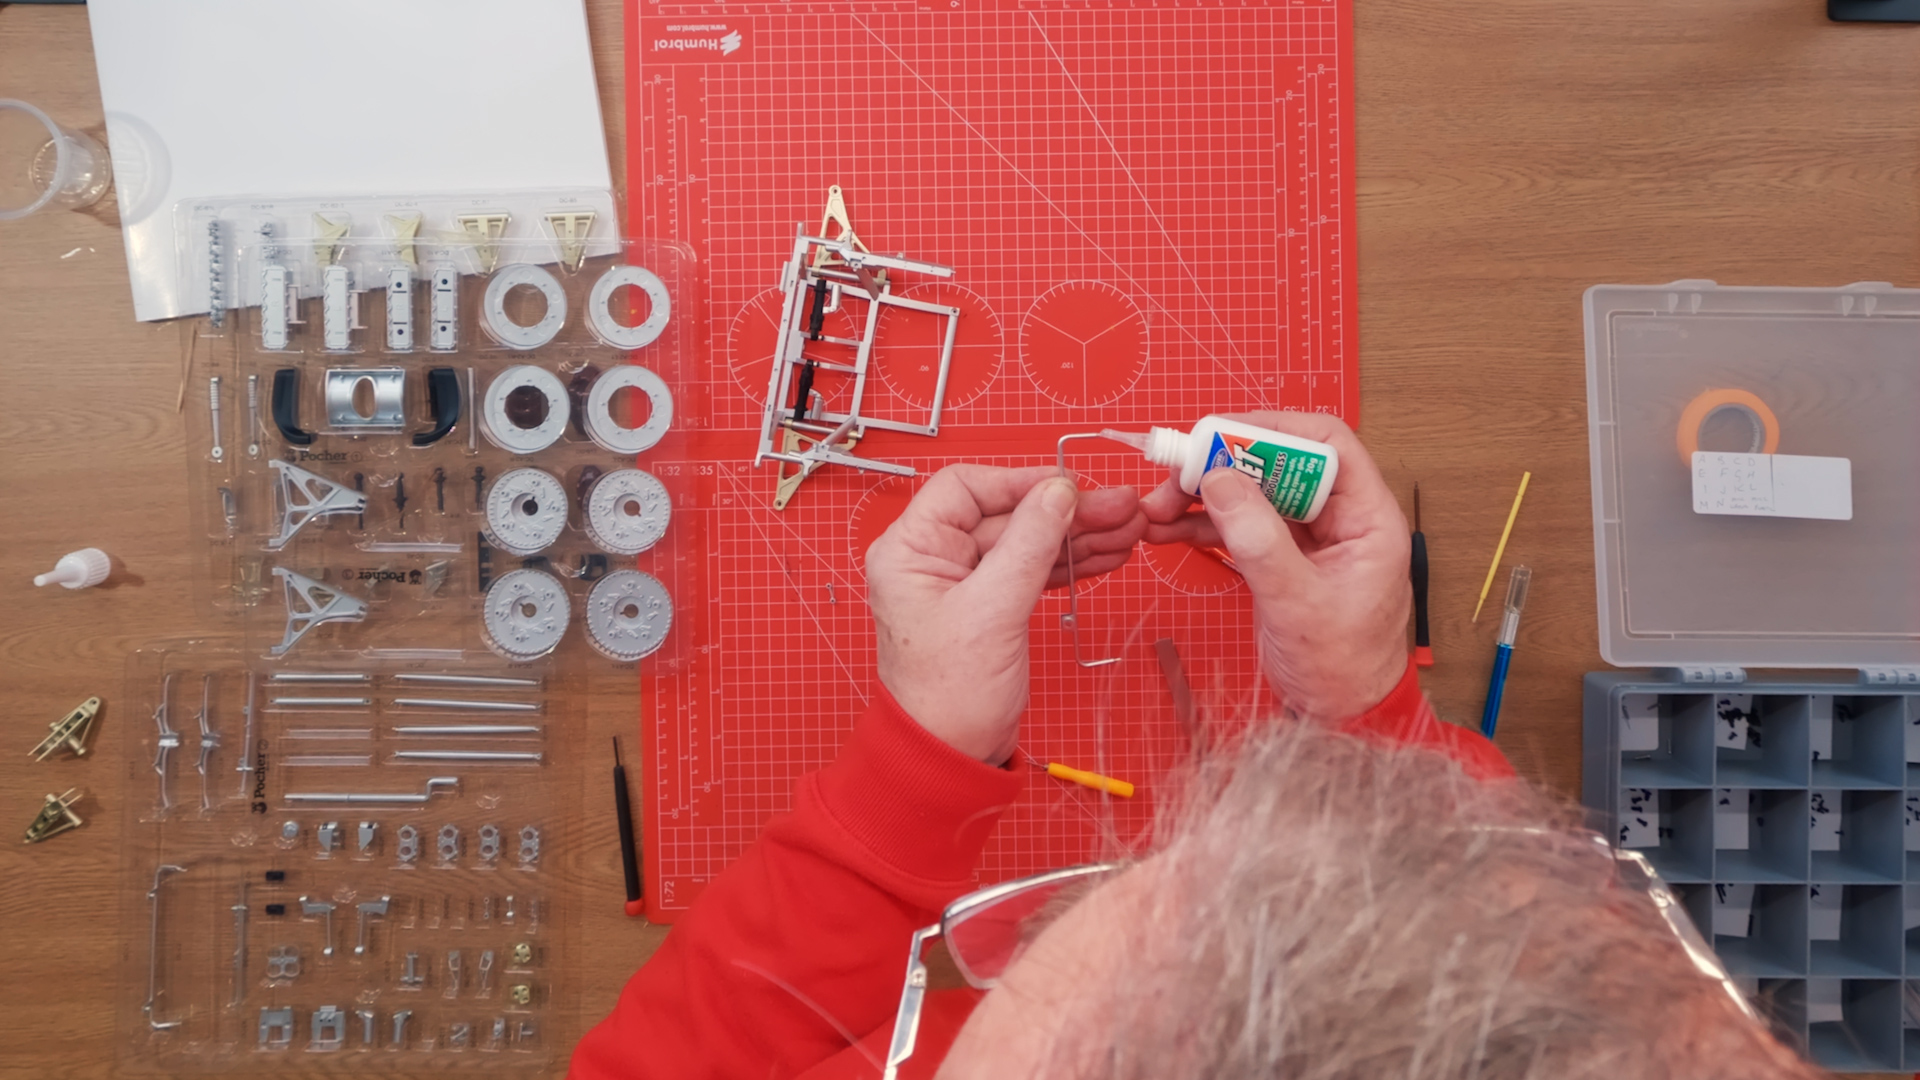
There are several small parts within Pocher builds that require glue to hold them in place, for example, the windscreen on the Lotus 72D. We recommend a very high-quality glue like Loctite Super Glue and you will need to hold the piece in position for a few seconds to ensure good adhesion. Use a cocktail stick to apply the glue to avoid making a mess – haphazard gluing can leave unsightly misting or fingerprints, spoiling the finish of your model.
If you glue something in the wrong place, or you just want to remove some excess glue, you’ll need to be very careful to make sure you don’t damage your model. Very carefully remove as much glue as you can with a file first. The best way to remove super glue is with a very small amount of acetone on a cotton tip. It’s a good idea to test a small, unseen part of your model first, to ensure it won’t damage the finish.
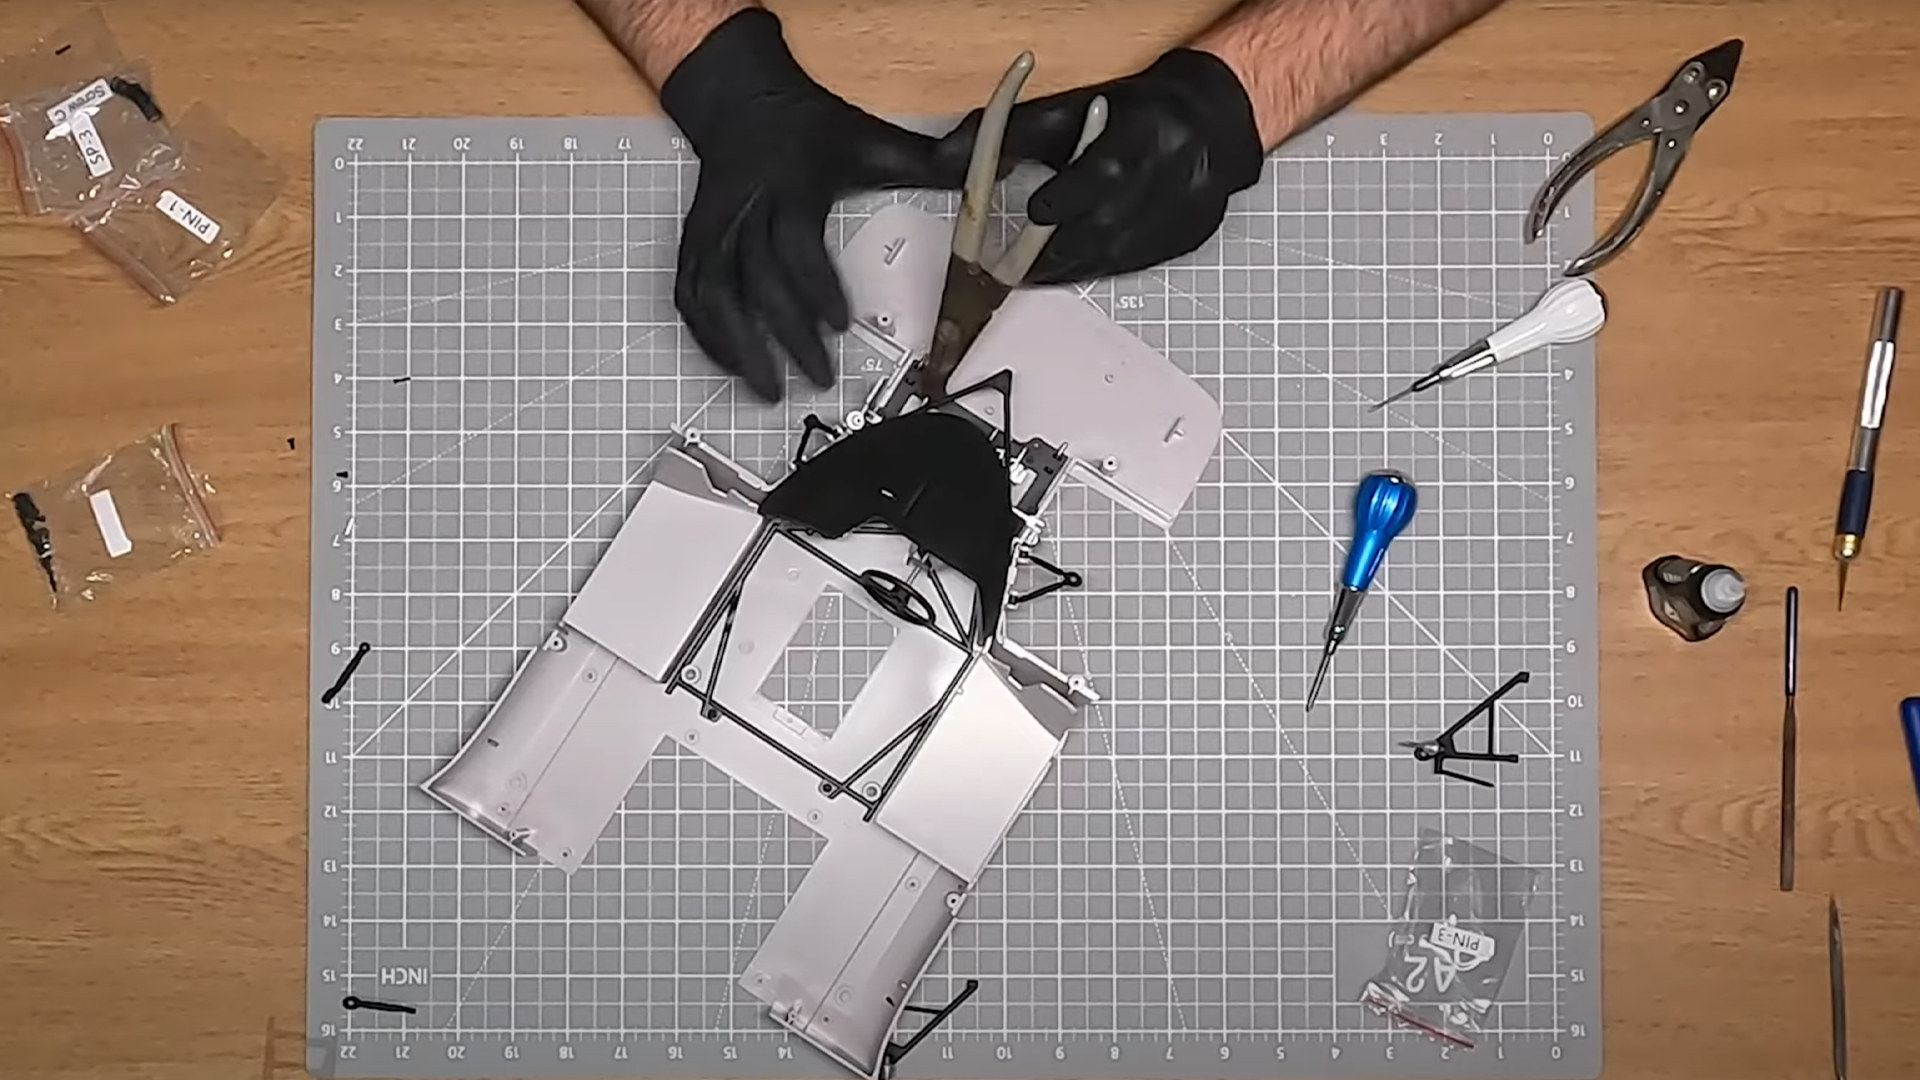
Alongside all those other essential tools on your workbench, you may also need a pair of parallel or long-nose pliers to handle larger items and a modelling scalpel or blade for cutting things like seatbelts and tubes on your cutting mat.
With all these things in place, you are set-up for a happy modelling hobby. You will likely find other tools and organisational tips that work well for you, but this is a great place to start. And as you work your way up our skill levels, you may need a few other items. Find out more about skill levels here.
Watch our video on the six best tools for Pocher modellers here.
Are there any tools we’ve missed that you think are essential? Head over to the Pocher forum and let us know!